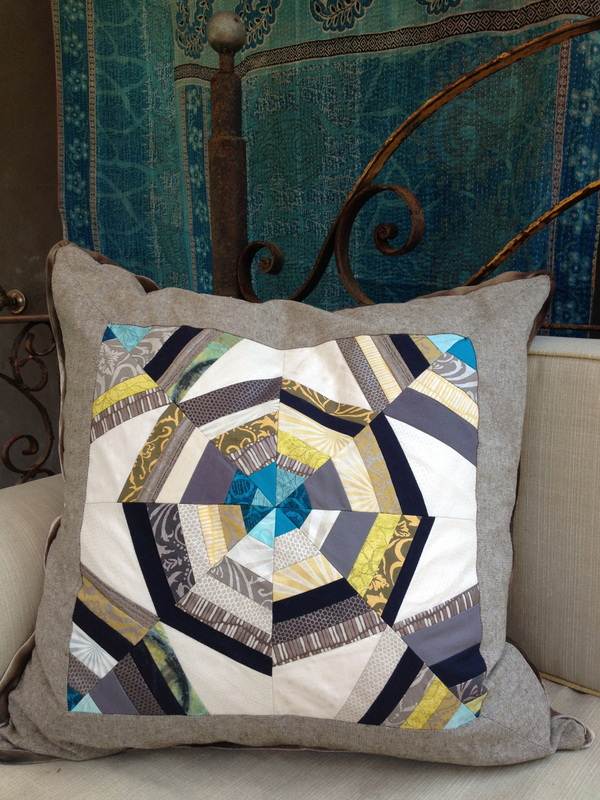
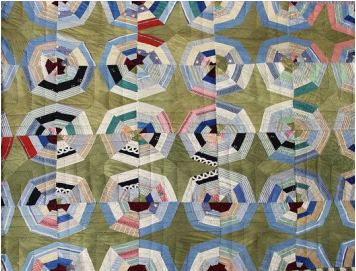
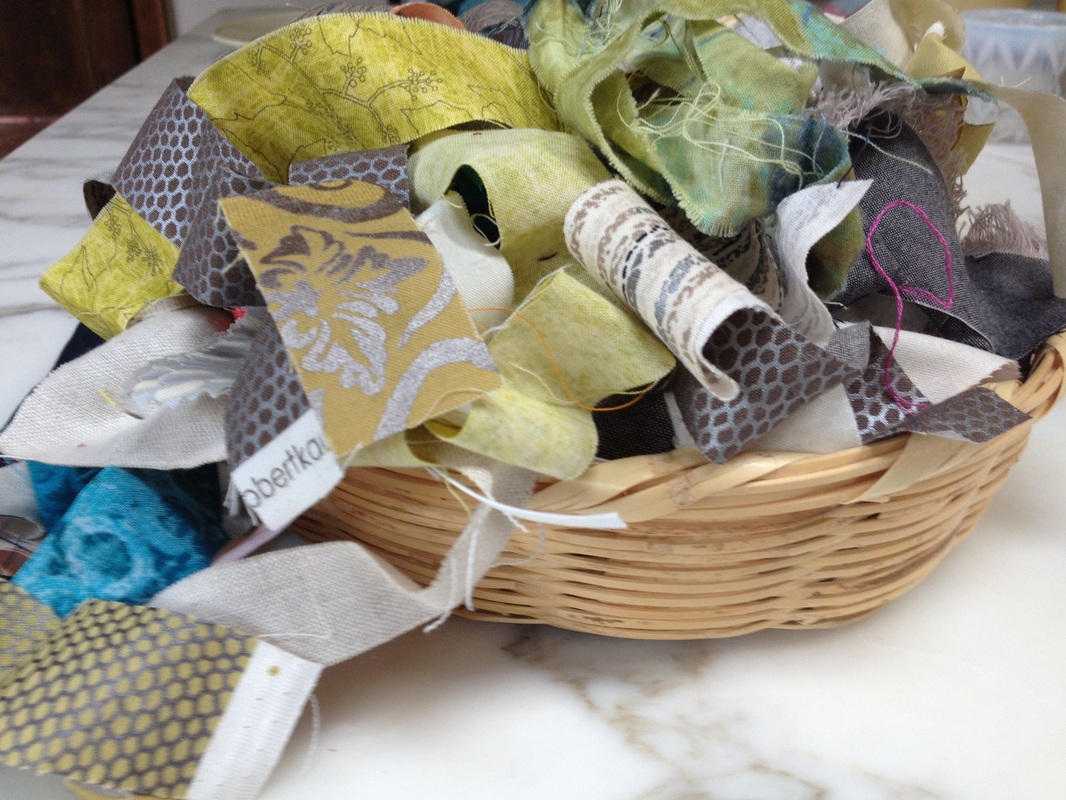
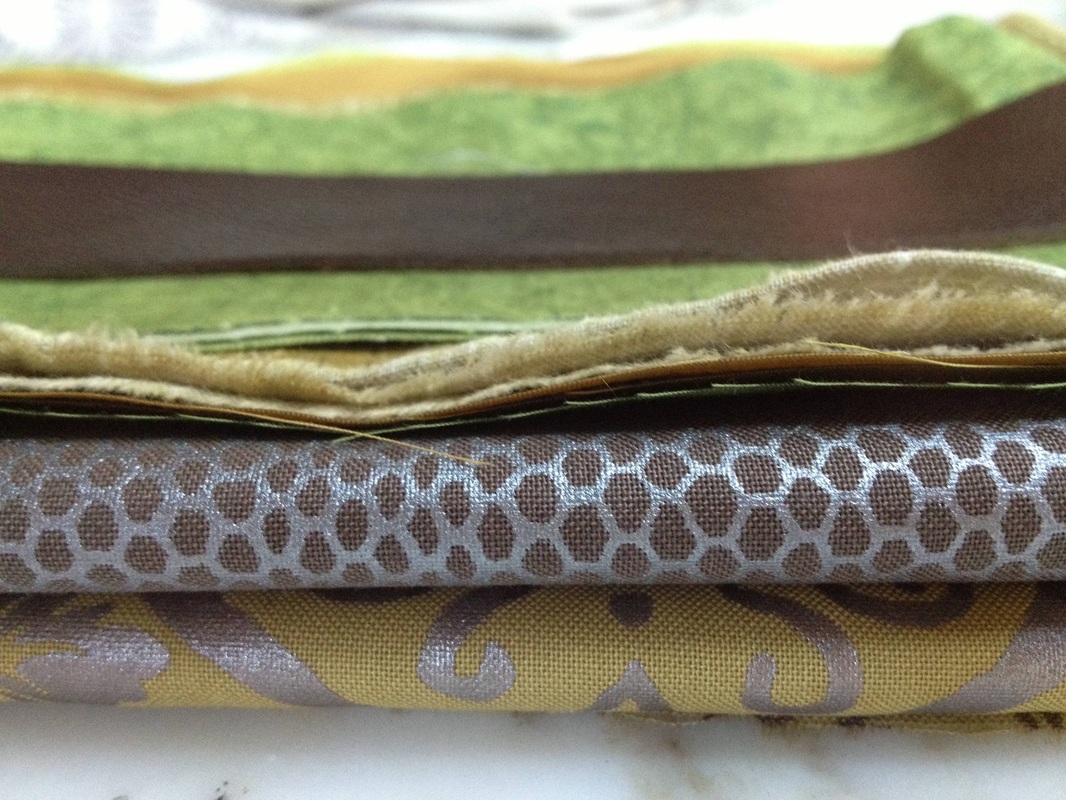
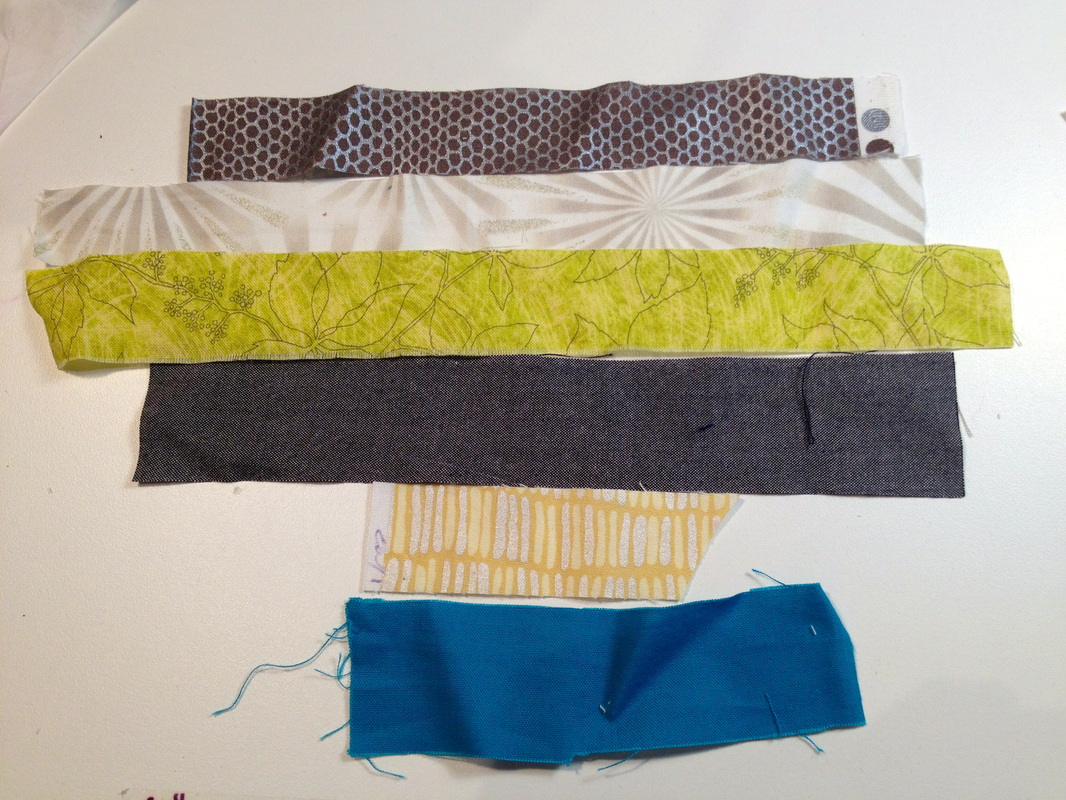
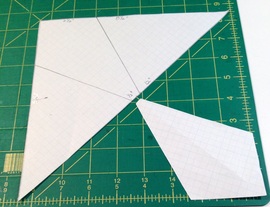
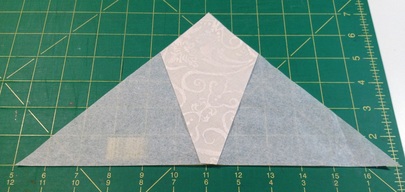
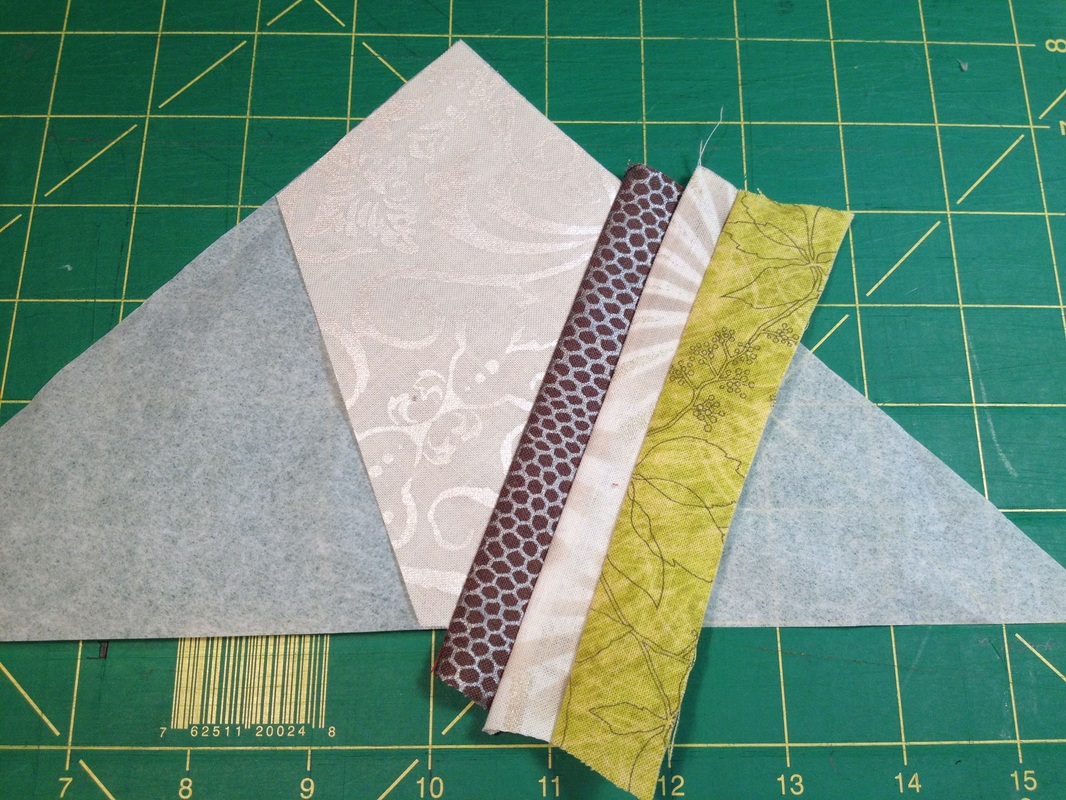
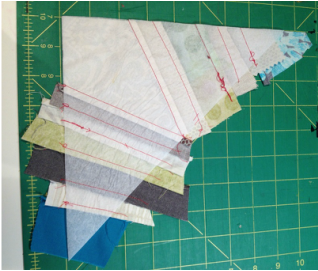
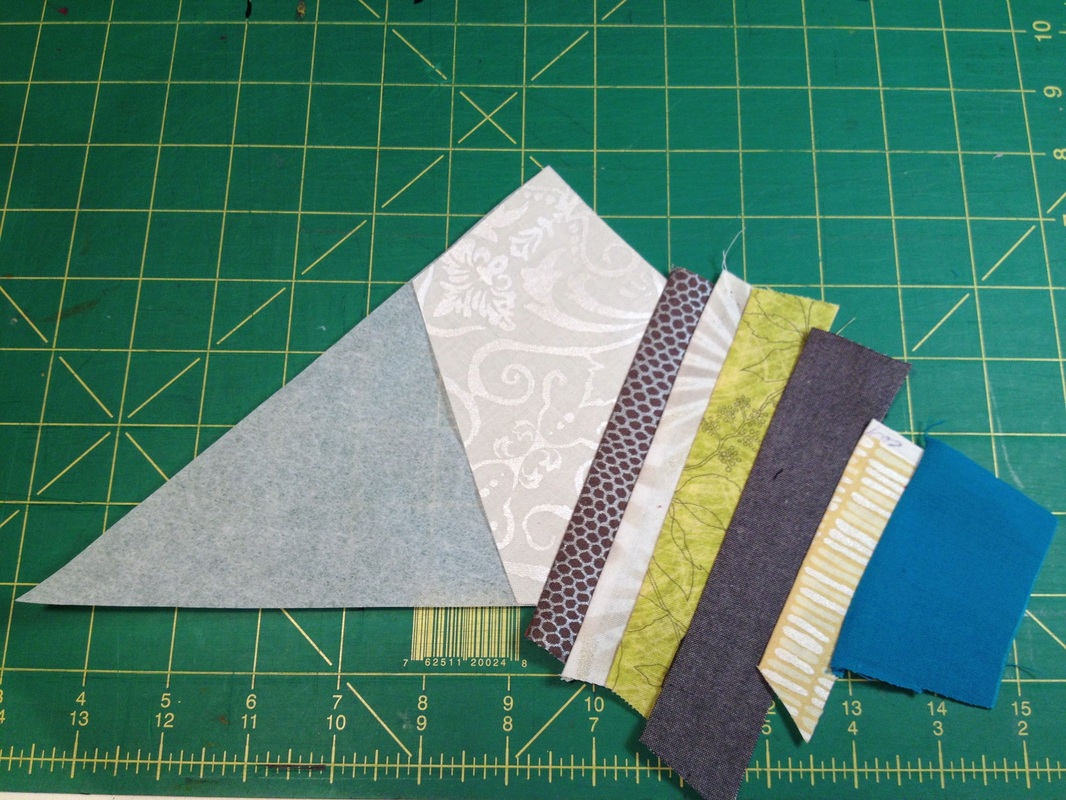
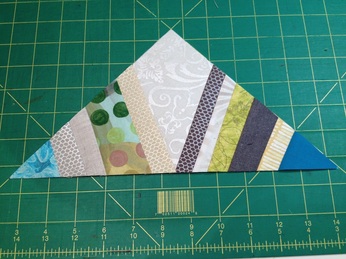
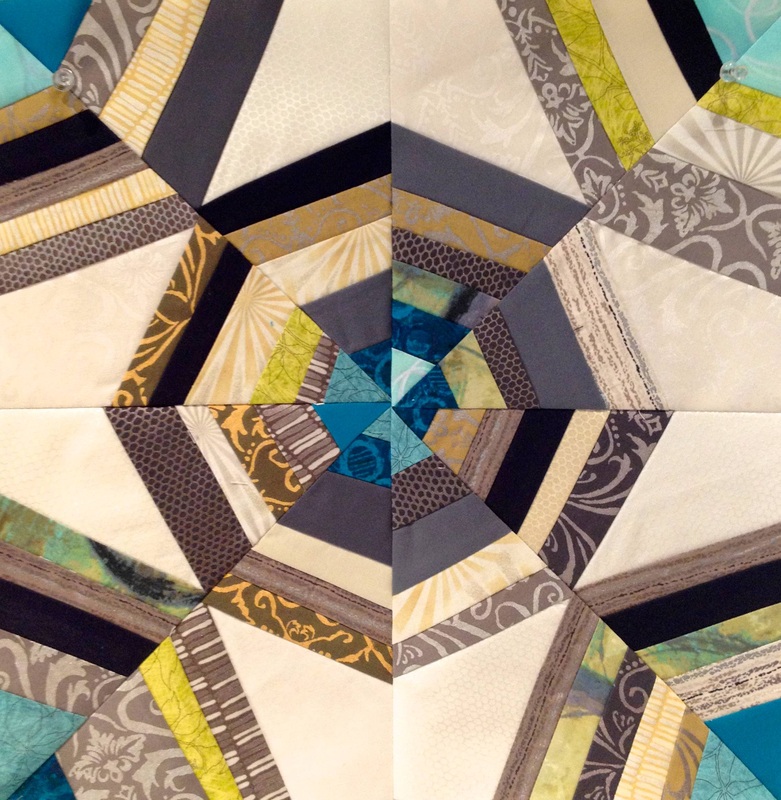
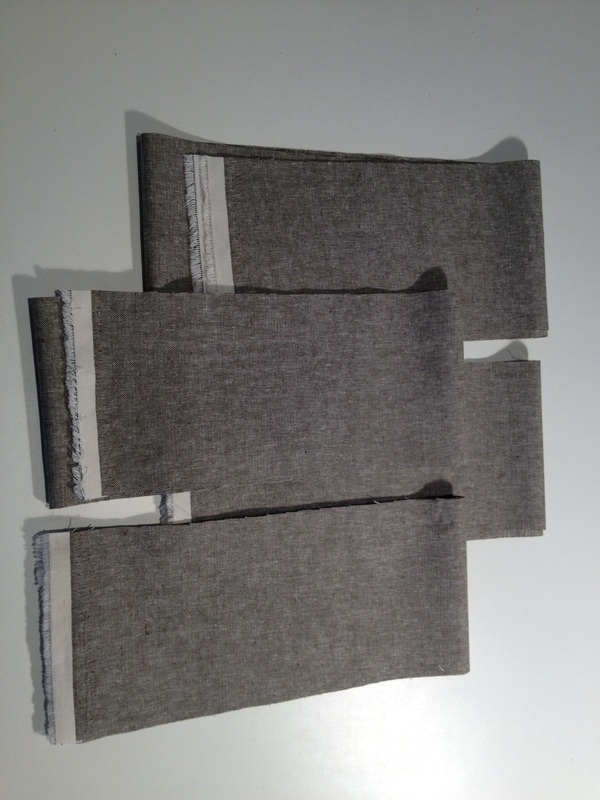
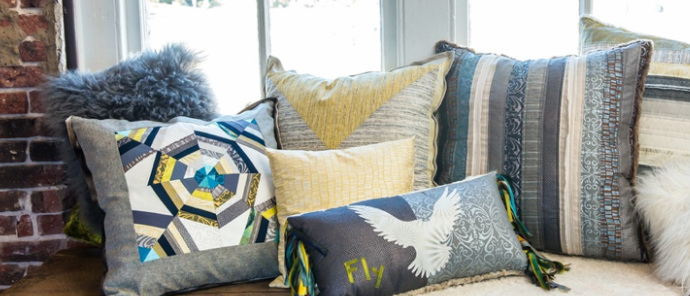
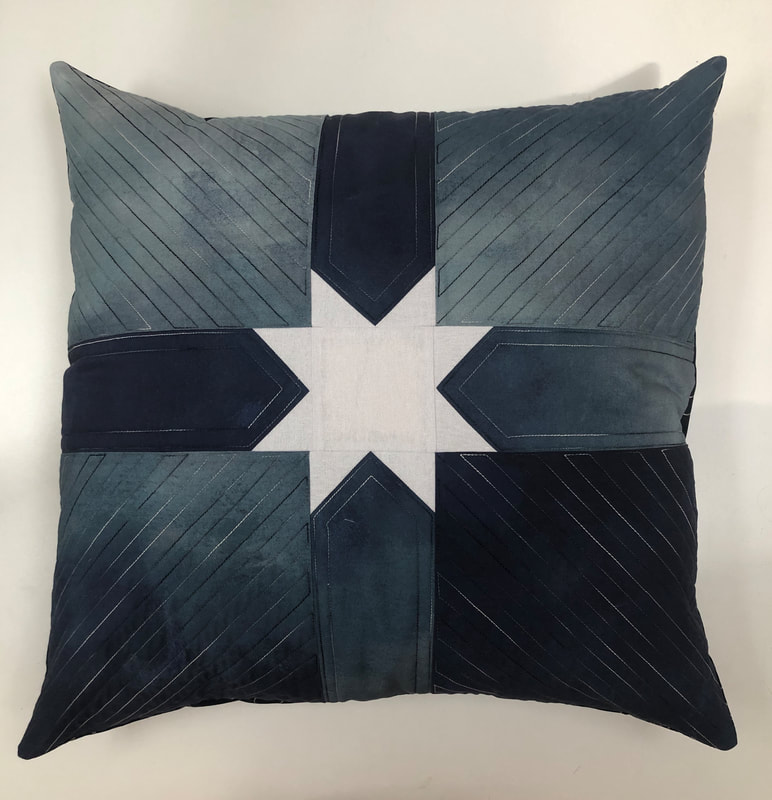
Scrappy Foundation Pieced Gemstone PillowSpider Web designs have caught my attention of late. Making a scrappy one out of Shimmer while adding a touch of turquoise appealed to me. I had lots of cut up scraps from the projects we were making already for the lookbook so I started to play…which is what I love best. Foundation piecing by stitch and flip is so fun. I don't even care if my seams aren't 1/4". Pillows are quick and rewarding and this process is freeing! The antique quilt below is a gem from Roderick Kiracofe's collection which is so wonky, fresh and full of movement that I used it as inspiration for my approach. Interestingly enough, this quilt dates from 1940-70 made in Hard Bargain, an African American community in Franklin Tennessee. In addition to the 20-30 strips of Shimmer Fabric I had on hand, I added strips of black and charcoal Kona cotton and 5 shades of turquoise with a few pops of lime. Beginner / Intermediate Project. Great way to use up your scraps! Finished pillow 23 x 23 (all measurements are in inches, 1/4 seam allowances) Materials List : • 1 yard total of 1" - 3" width x 1" - 6" length of strips in Shimmer, lime and turquoise prints. Kona black, charcoal and turquoise • 2 Fat Quarters of Shimmer AJSP 14250-15 Ivory, 14249-15 Ivory • Borders- 3/4 yard of Essex Y/D Linen in Olive • Pillow form 24" x 24" • Foundation Paper such as Carol Doak's Foundation Paper • Velvet Trim- 3 yards of 2 1/2" strips Artemis moon dust • Backing- 3/4 yard or 24" square of your favorite Shimmer print • Nylon zipper beige 22" *** SHIMMER has been wildly popular and many shops were backordered. Please know it's been reprinted and many shops have fresh stock now! (Hawthorne Thread, Cotton Patch, Fabric Depot, Fabric.com, Cabbage Rose ) If you are a store and also have collection stocked yet not listed here, please let me know. Directions and Cutting Create a trapezoid template out of graph paper or your favorite material. Cut one 8 1/2" square of template material. Cut the square in half diagonally (yielding 1 Isosceles triangle 8 1/2" x 12"). To make center trapezoid template measure and mark 2 1/2" down from top point of triangle. Mark center point on long edge of triangle. Mark 1/4 inch on each side of center mark. Draw line to connect the 1/4" center base mark to the 2 1/2" top of triangle mark. Cut along lines to create your trapezoid template. Shown in left photo above. Cut 8 ivory trapezoids from fat quarters of Shimmer. (It's Ok if they are not perfect. Adds to charm and note in antique quilt that star points are wonky) To make your blocks, cut four 8 1/2" squares of foundation paper. Cut each square in half diagonally (yielding 8 Isosceles triangles 8 1/2" x 12")
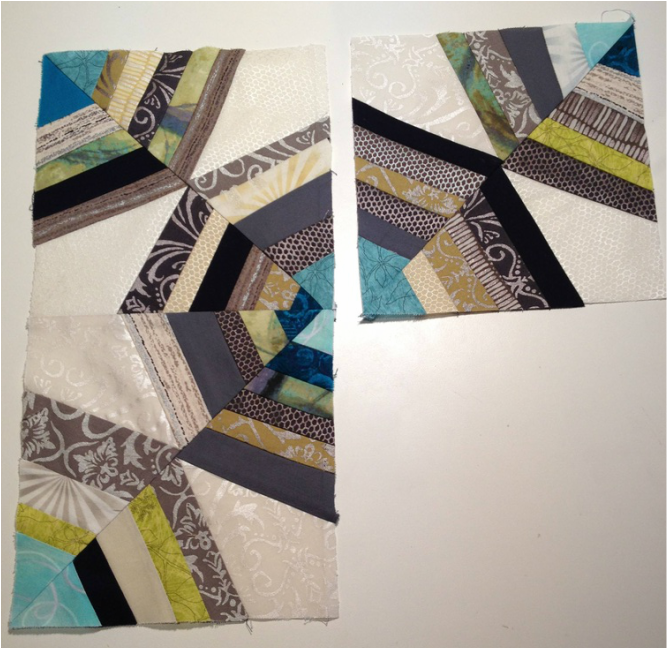
Assemble triangles together to create four squares. Assemble squares to one another as shown above and note that center of block is important to match so "turquoise gemstone" has center point. This is the only area in entire block that matters to match points. Above trimmed finished block measures 15 1/4" square.
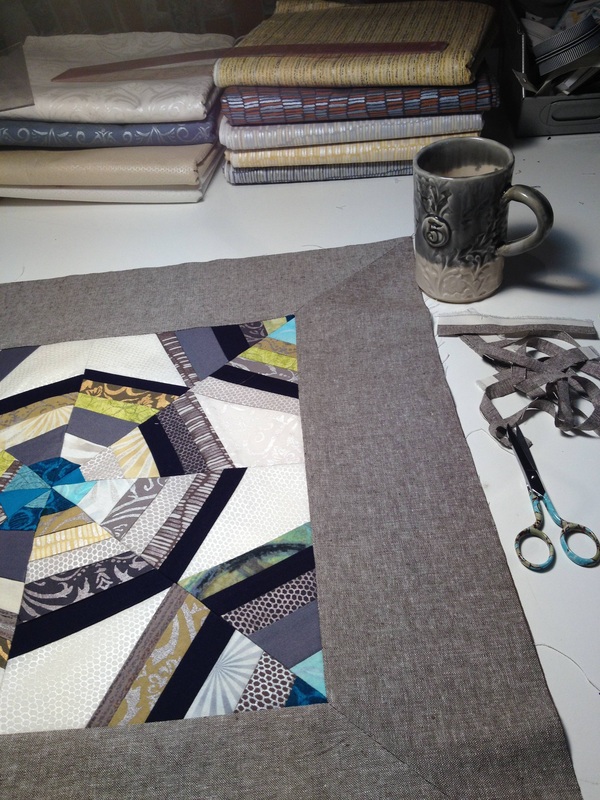
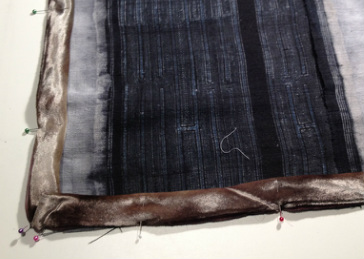
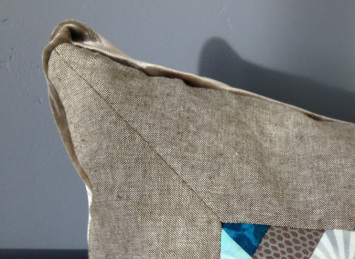
Double velvet trim and with raw edges together, machine baste onto back pillow square. Pin pillow top with right sides together. Sew in 22" zipper. See zipper tutorial for assistance. Add pillow insert, fluff, and you're done. Enjoy your sophisticated pillow and please refer to other blogs when needing more specifics on technique. My blog is more inspiration based than step-by-step technique. That wraps up the pillow section of Free Project Friday!! Day and Night and Fly pillows are posted on previous blog dates.
Until Next Time, SHIMMER - It's in our Nature.
6 Comments
9/8/2014 07:33:14 am
Hello Jennifer,
Reply
My 5-year old saw the pillow on the far left in this pic and he was like "we need to make that pattern with our beads!" We're super into Perler beads right now and I love that he saw that gorgeous pillow and got inspiration from it!! Seriously love these pillows! -Nichole (from wildboho on IG)
Reply
Gail Burke
2/6/2015 04:07:12 am
I love your blog, it's easy to follow, fantastic pictures. I also really love the black and white fabrics.
Reply
melinda tai
1/7/2016 11:24:47 am
hi,
Reply
jennifer
1/9/2016 09:08:12 am
HI Melinda.
Reply
Your comment will be posted after it is approved.
Leave a Reply. |
Jennifer SampouStories from the Studio My PatternsSubscribe to my YouTube ChannelCategories
All
Past Entries
April 2024
|
- Home
- Store
- Learning
- Going Green
-
Fabric Library
- SKY
- Chalk & Charcoal Basics
- Chalk & Charcoal
- Spring Shimmer
- Winter Shimmer
- Winter Shimmer 2
- Shimmer On
- black&white 2
- Studio Stash 3 Cool Story prints and yarn dyes
- Studio Stash 3 Warm Story prints and yarn dyes
- Shimmer 2014
- Shimmer II - 2015
- black&white 2015
- Studio Stash II - 2014
- color:FULL 2014
- Studio Stash Yarn Dyes 2014
- Daisy Love Flannel Collection 2014
- Studio Stash Fabric Collection 2013
- Continuum Fabric Collection 2012
- Fiesta Collection 2011
- About
- My Blog
- Newsletter Sign Up
|
Have a Question? Email us at [email protected]
Links I Love©1990-2024 Jennifer Sampou. All Rights Reserved.
|
|




 RSS Feed