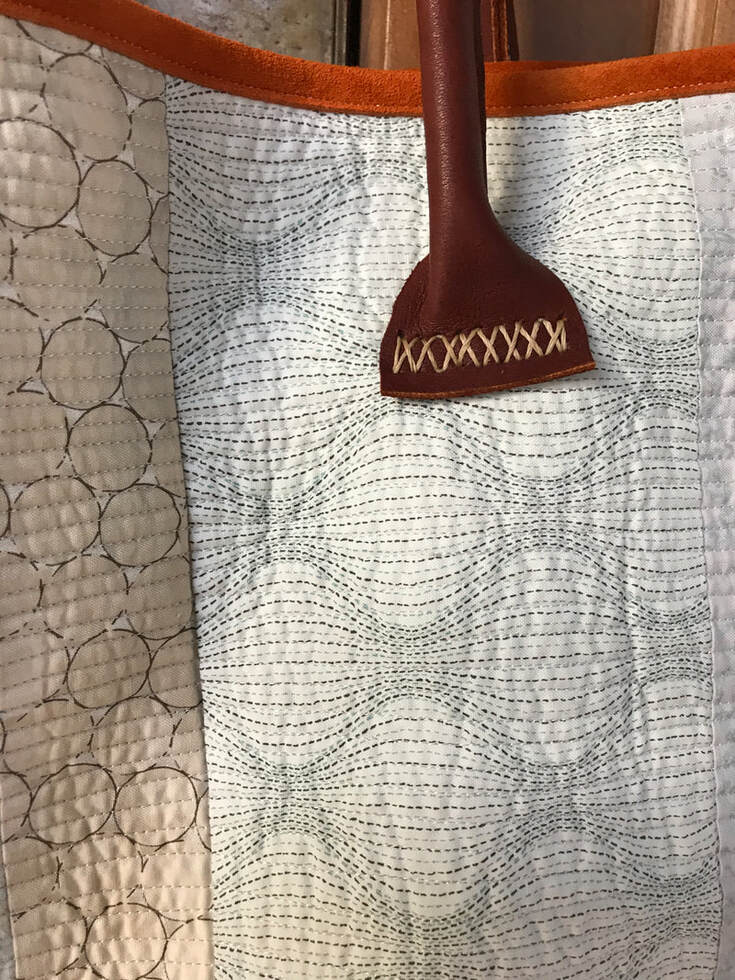
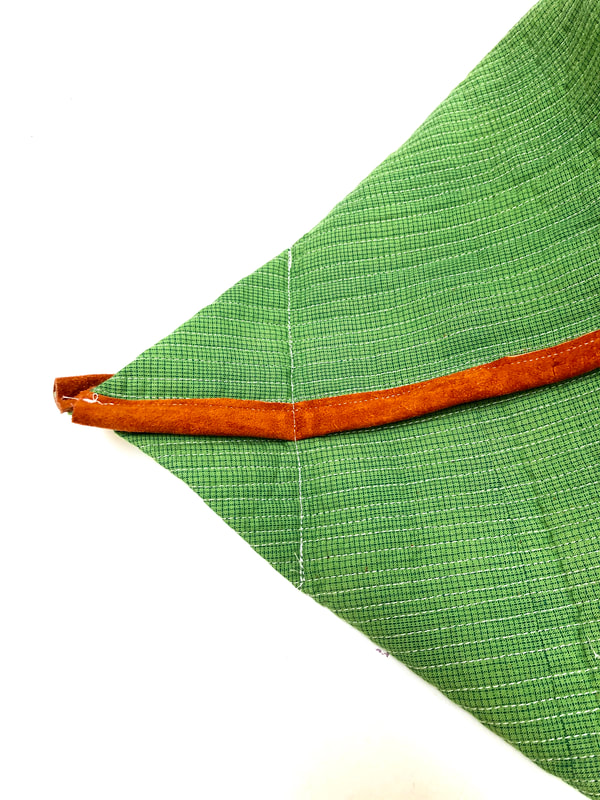
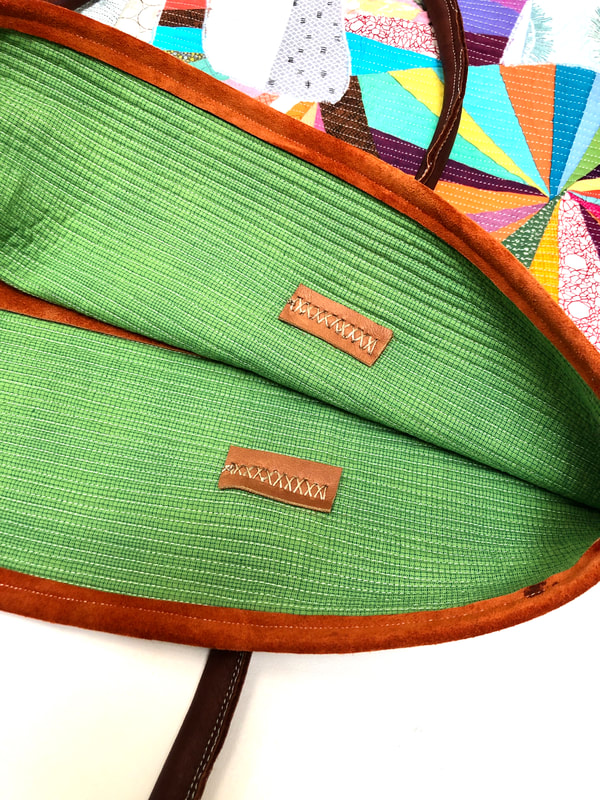
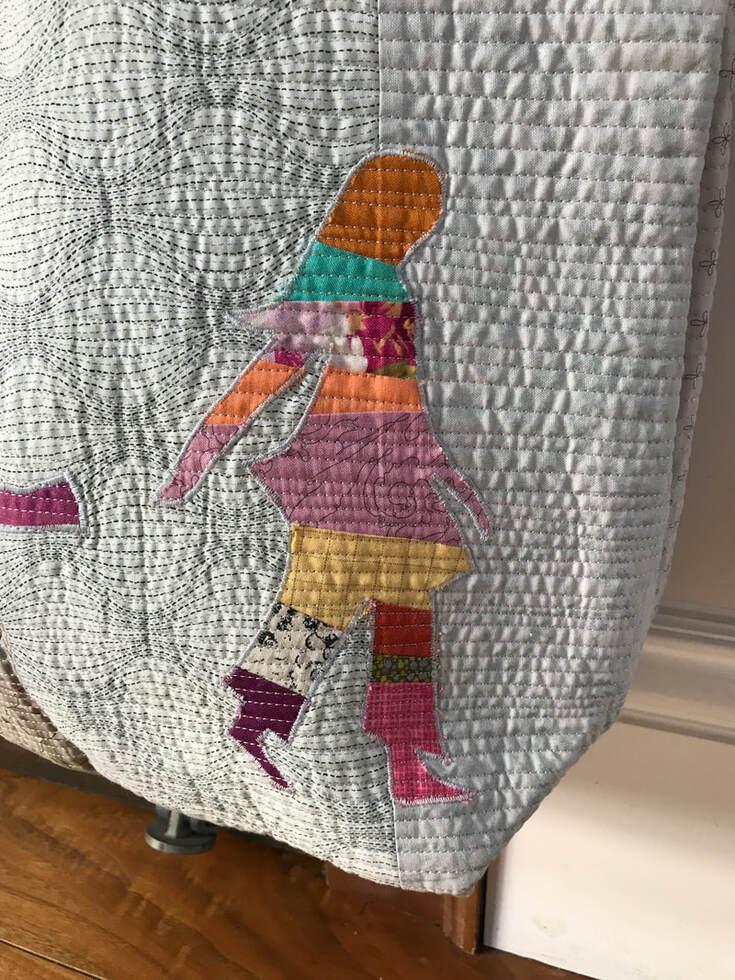
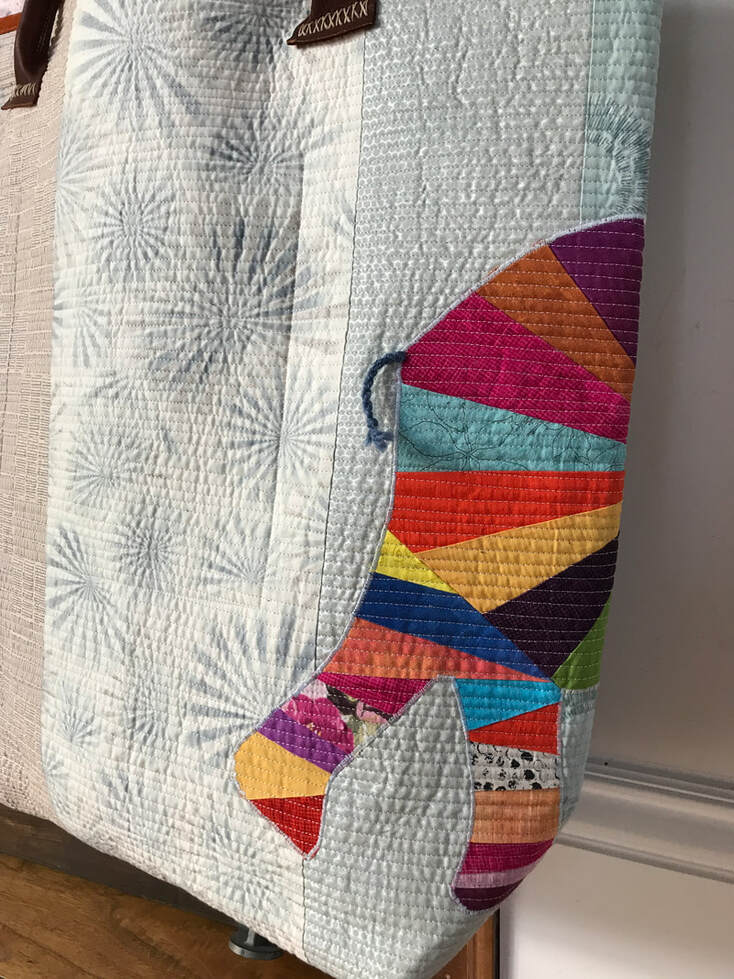
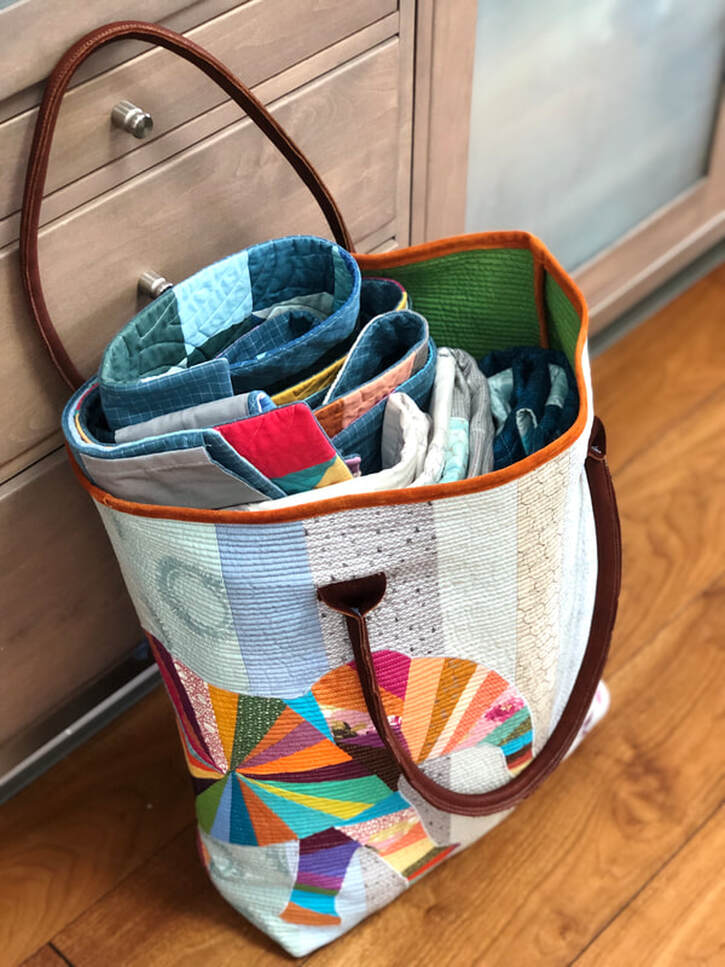
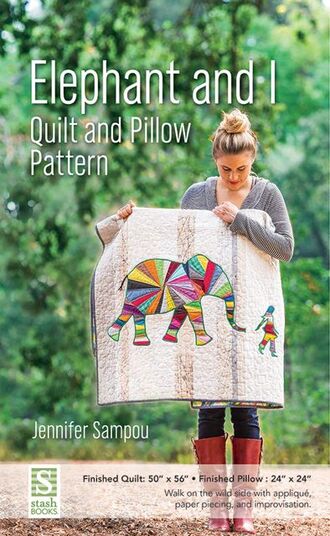
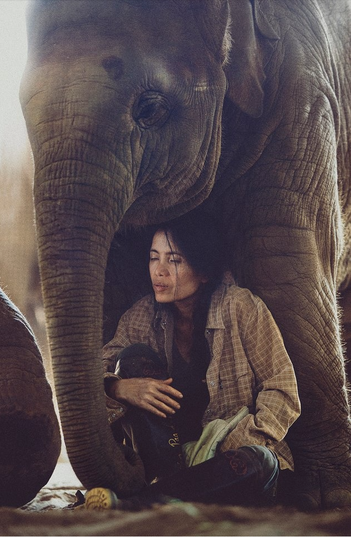
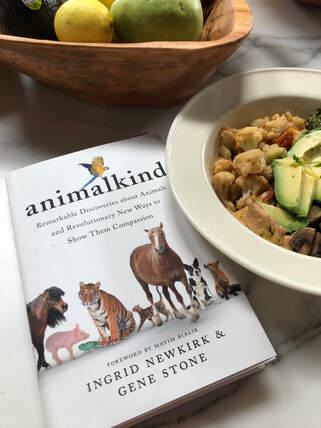
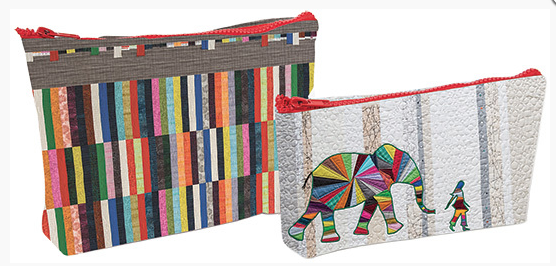
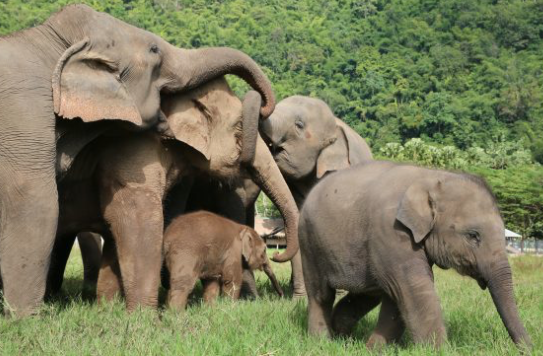
Make The Elephant and I Jumbo Tote! Free tote instructions below.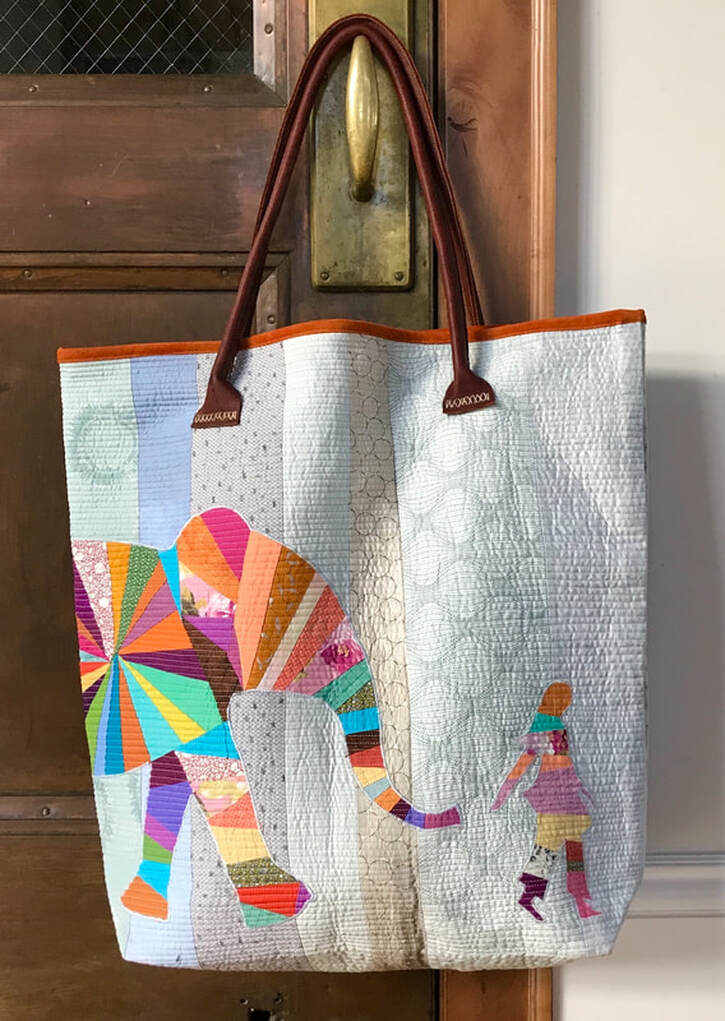 Elephant and I is a best selling quilt/pillow pattern in which I offer an instructional YouTube video to help you make it! When I finished filming, I had this teaching sample and I thought, Let's make this into a jumbo bag and give away free instructions to fans!! I absolutely love how it looks, functions and feels. I use my new bag to haul quilts to events, it's big enough for a weekender and a catch all for just running around- Last week it was stuffed with warm clothing for 4! It's huge and can hold a ton stuff, has sturdy handles which are hand stitched and it's comfortable to sling over the shoulder. My favorite match stick quilting gives body, style and stability. Below is the free bag making instructions but you need to buy the pattern to make the elephant and person. I have posted lots of detail photos to show techniques. Also go to my YouTube video for all three videos for more info on color selection, my favorite paper piecing tips and how to get that professional looking appliqué finish! For the background strips, I used my Shimmer/Studio Stash fabrics mostly, a few beautiful prints from Karen Lewis and a variety of bright prints and solids for the woman and elephant, who wraps around to back of bag. Leather handles and suede trim are from my dad's 1970's workshop that I am up cycling. Waxed linen twine is heavy duty and I was sure to create my stitch holes with my chisel before stitching. ELEPHANT & I JUMBO TOTE: 22.5"x 25" Materials: •Elephant and I Pattern by JenniferSampou.com/C&T Publishing •Colorful scraps for elephant and person. See pattern for details •12 strips of light value background fabrics 2 ½” to 8 ½” widths by 28” long. 1 1/2 yd lining fabric •Two premade purse straps approximately 31” x 2” or make your own from thrift shop vinyl/leather belts. •Grommets, 4 D rings or heavy floss to attach handles to bag details. Maker’s choice -Watch YouTube Elephant and I for tutorial https://www.youtube.com/watch?v=LEGXP4_bQpM&t=424s -Watch C&T YouTube for tutorials about bag making and Kraft-Tex https://www.youtube.com/user/CandTPublishing -Expectation is maker has some experience with bag construction or see The Better Bag Maker (C&T Publishing 2014) Make: Layout Strips: Choose 11-12 strips cut for background fabrics. Lay out to your preference. 1. Strip Rectangle: Sew 2 ½” to 8 ½” widths by 28” long strips right sides together. Press seams open. Continue stripping until rectangle measures 46” x 26”. 2. Follow Elephant and I pattern: Make person, elephant based on pattern instructions and YouTube tutorial. 3. Position elephant and person to background. Place elephant and human 5” up from bottom, person’s hand 3 ½” in from right side. Back elephant foot 15” in from left side It wraps around to back of finished bag. See photo above. 4. Quilt Sandwich: Cut lining and batting a bit larger than the top rectangle. Baste. 5. Matchstick Quilt: Topstitch across entire surface. Begin in the center and work outward, trim edges. 6. French Seam: Bag Side/Bottom: Make French seams by folding wrong sides together and sew a ¼” seam. Turn wrong sides out and sew a ½” seam to bury raw edges. Or sew right sides together along one side and bottom and finish raw seams with 1" Kraft-Tex or leather trim. Maker's choice. 7. Grocery Bag Bottom or Boxed Corner: With bag inside out, pinch bottom corners matching side seam to bottom center. Measure up 3 ½’ from tip and pin at the 6 ½” width and draw a stitching line and pin. Sew from each side to center French seam. Backstitch for durability. 8. Bag top edge: Cut or sew together a strip of up cycled leather or Kraft-Tex 45”x 1”. Fold in half and press. Fold strip over top raw edge making sure both edges of leather/Kraft-Tex are equidistance ½” from edge. Glue down or use binding clips to hold in place. Top stitch along edge, with slight over lap where strips meet. 9. Handles: Attach handles 3 ½” below top edge and approximately 5 ½” from outside edge using grommets, D rings or hand stitch with heavy duty thread. If working with heavy material such as vinyl use a heavy needle on your machine or if by hand, be sure to create your holes with leather chisel prior to stitching so threads go through layers with ease. This pattern designed and made by Jennifer Sampou is for personal use only. Please contact [email protected] if you’d like to teach to a class. Must have permission. Thank you. Visit jennifersampou.com, Instagram and @Jennifersampou YouTube for instructional content. A special thank you to Becky McCoy for sewing assistance. Hope you enjoy making a new version of Elephant and I. As always, part of the proceeds of this pattern are donated to Elephant Nature Park in Chiang Mal Thailand co-founded by Lek Chailert the most ethical sanctuary to visit where elephants are in their natural habitats, just being elephants: Not being ridden, doing tricks for human amusement or mishandled by mahouts. The animal kingdom is most precious and it's our job as stewards to respect, honor and protect. Above is my current book of choice, Animalkind, by Ingrid Newkirk and Gene Stone, It's really insightful and I am learning so many fascinating things- there is so much we don't know about the amazing world of animals. Last year, my husband and I changed our diet to 90% Whole Food, Plant Based, which we now understand is the way to a sustainable future on our planet. Changing old habits takes commitment but it's been fairly easy to do together- we both grew up eating meat and raised our children on meat but the more we learn, the more we grow and understand adverse health effects, question the ethics and sustainability of eating animals. To the right, my zip bags made from recycled coke bottles and a sweet pic of a happy romp in the grass from the sanctuary. Always, I send my blogs with kindness and hope you are all well and safe. Now go CREATE!
1 Comment
|
Jennifer SampouStories from the Studio My PatternsSubscribe to my YouTube ChannelCategories
All
Past Entries
April 2024
|
- Home
- Store
- Learning
- Going Green
-
Fabric Library
- SKY
- Chalk & Charcoal Basics
- Chalk & Charcoal
- Spring Shimmer
- Winter Shimmer
- Winter Shimmer 2
- Shimmer On
- black&white 2
- Studio Stash 3 Cool Story prints and yarn dyes
- Studio Stash 3 Warm Story prints and yarn dyes
- Shimmer 2014
- Shimmer II - 2015
- black&white 2015
- Studio Stash II - 2014
- color:FULL 2014
- Studio Stash Yarn Dyes 2014
- Daisy Love Flannel Collection 2014
- Studio Stash Fabric Collection 2013
- Continuum Fabric Collection 2012
- Fiesta Collection 2011
- About
- My Blog
- Newsletter Sign Up
|
Have a Question? Email us at [email protected]
Links I Love©1990-2024 Jennifer Sampou. All Rights Reserved.
|
|





 RSS Feed