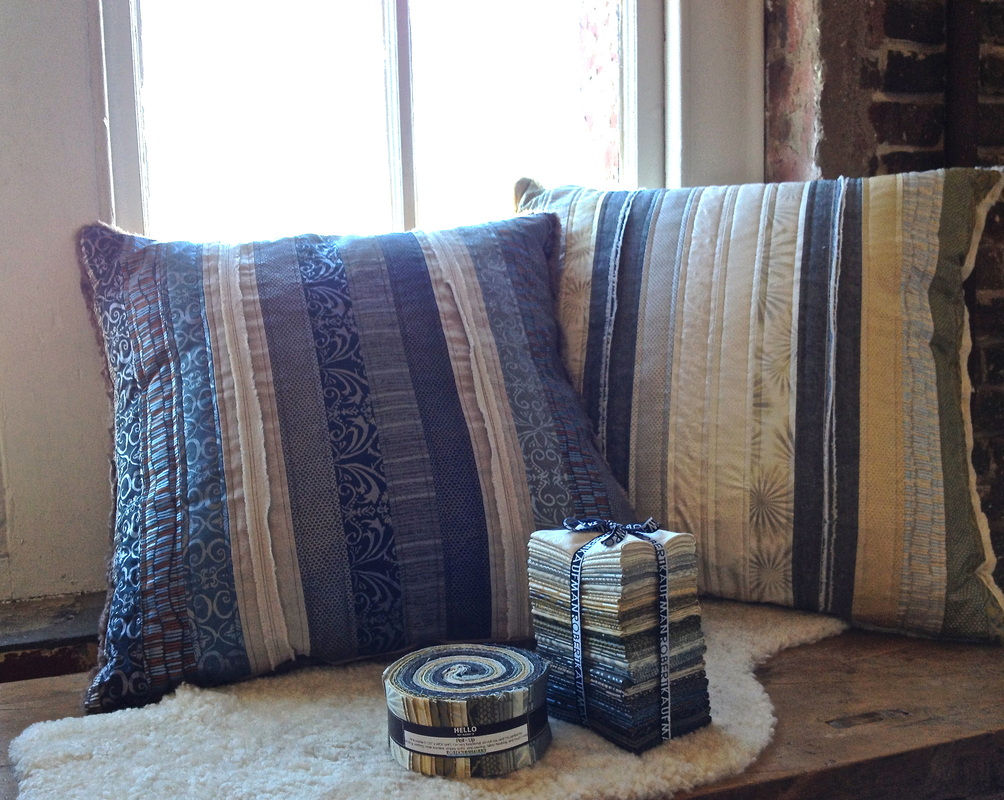
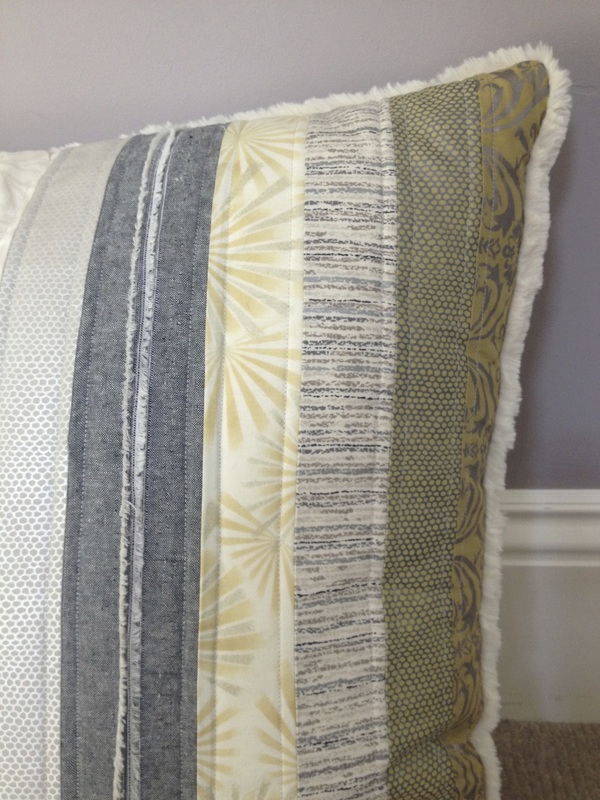
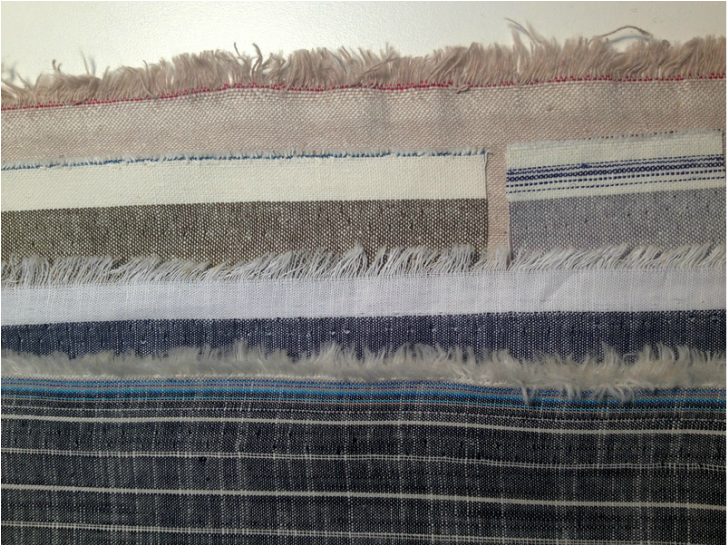
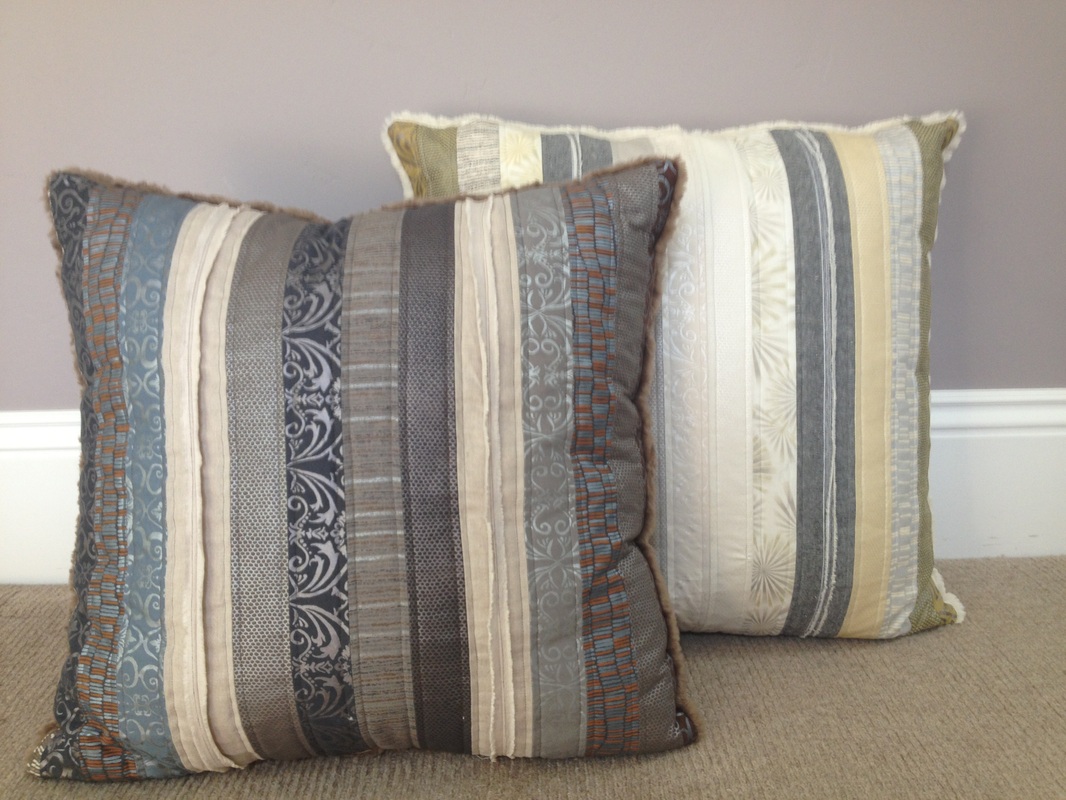
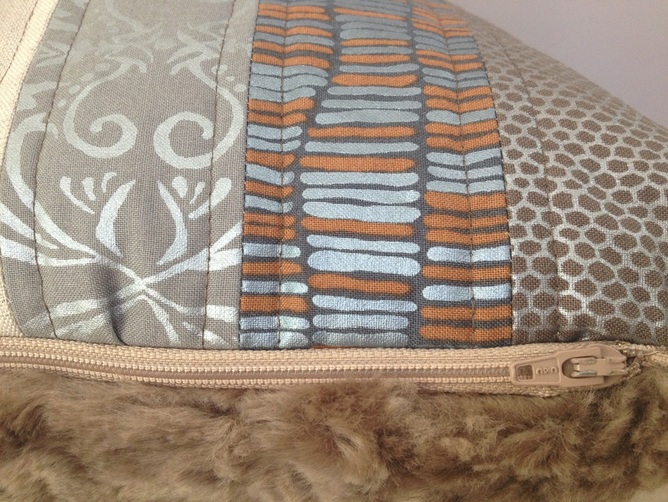
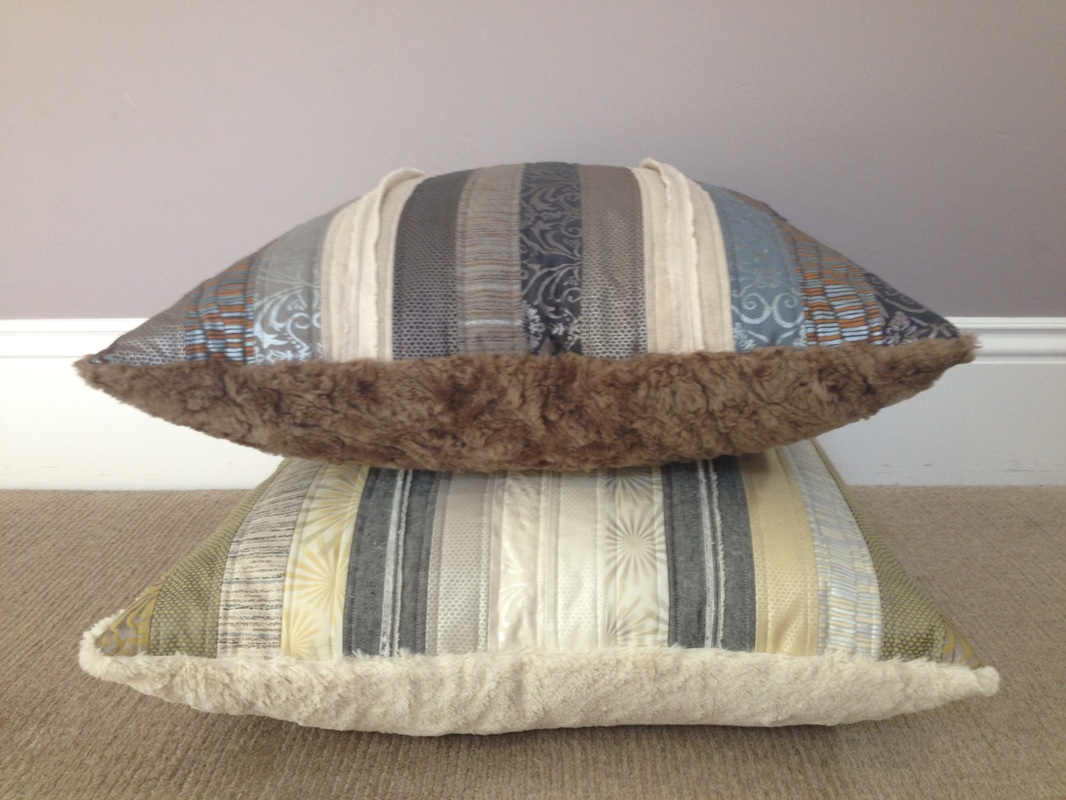
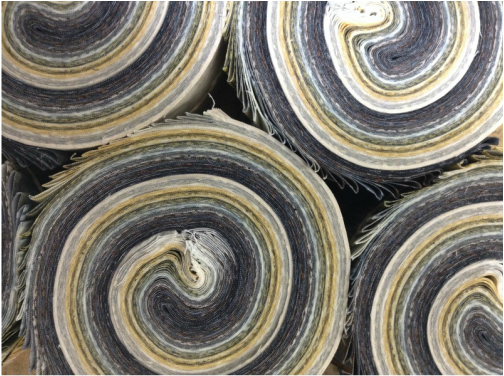
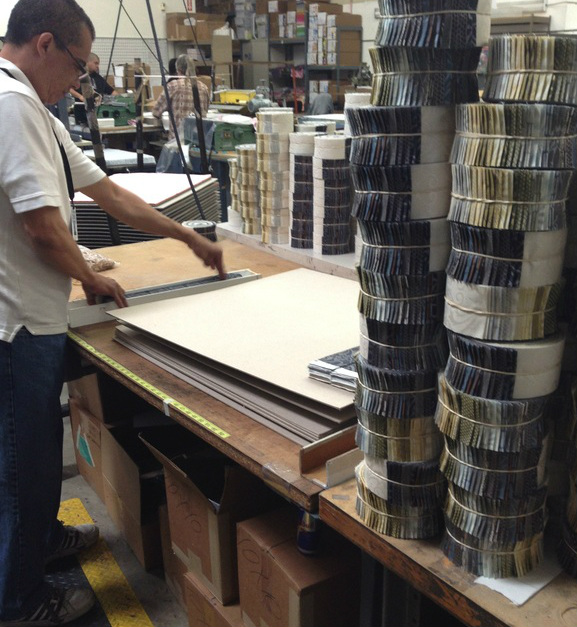
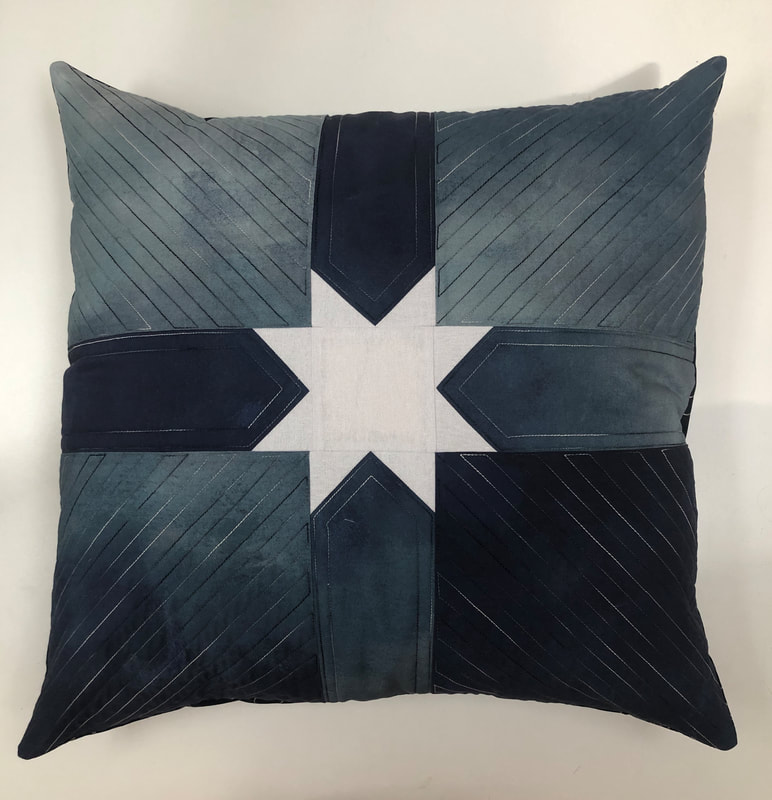
Super easy pillow project.These Dawn and Dusk Pillows are FUN TO MAKE- quick and gorgeous! Fabulous, stripped, big 25" square pillows from my look book have special exposed seam detail and minky backs! They came together so quickly because I used easy to find items such as precut SHIMMER rollups and standard 26" euro pillow forms. This is my kind of project. I love making great impact pillows in a day. You too? And they are so functional for the whole family! Beginner project? YES! Stylish? FOR SURE! Sewist by day, pillow lounger/movie junkie by night? Bliss!! Funny thing is, on the back side I used plush minky and that of course, is the side my kids LOVE… Which frankly is the best solution ever…my fancy side stays fairly clean! 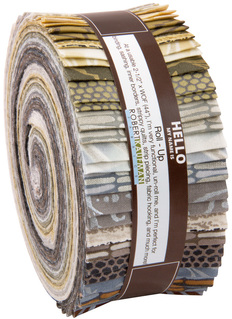 We start with a standard 2.5 inch precut rollup. 2 inch-wide cut-off selvages from Essex YD linen. Two (26 inch) euro pillow forms, 3/4 yards of minky and two (22 inch) zippers. Isn't this rollup yummy? I, like many of you, have a hard time unwrapping things so lovely as a brand new, perfectly coordinated rollup. But commit we must. Yes, as soon as I pop that tight brown belt and unroll the disc, a bittersweet flash washes over me. Hello my name is Octopus. The great thing is that you can just start sewing. But I suggest you spend a little time organizing the lights separately from the darks, hence my pillow names Dawn, which is all light colors and Dusk, which is the darks. This group easily separates down the middle value wise with even amount of fabric in each story. At that point, your are ready to sit at the machine. 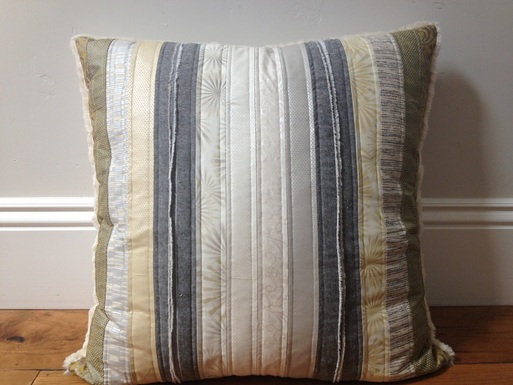 Dawn Pillow Dawn Pillow Let's start with the Dawn pillow. The instructions are the same for the Dusk pillow except you are using the darkest colors instead. 1. First, I sewed the lightest strips WOF together in a group of 4. As you see (right), my lightest, cleanest whites are in the center of the pillow. This creates the shimmer/glow effect of the pillow design. 2. Collect your medium-lights and sew two sets of 4 strips together. I chose to put the vintage lichen colored prints on the outside and use them as book ends. (below detail) 3. At this point I needed a little zip in my project. It bored me to do just a striped, stripped light pillow so I dug into my Essex Linen box looking for texture and variety. As usual, I was admiring the interesting selvages and then a light bulb went off! Exposed seams are so GREAT! I want to highlight them! Immediately, I whacked off the selvages measuring 2" strips (this was the only cutting I did thus far!) and sewed them together with a 1/2-inch seam allowance to beef up "the fringe" (there are no right sides when sewing together with yarn dyes). Now I have my "exposed selvage strip" that gave my pillow that great designer look. 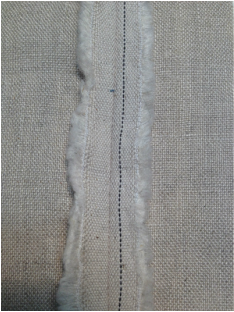 Here is a detail of the seamed strip (right) after a light pressing. Also, a nice touch design-wise, is when both pieces are sewn together the result is a 1/2" wider strip (2.5" finished). The textured linen inserted between the cotton SHIMMER pieces gives important, visual texture and balances the symmetrical design. For the Dawn pillow, I needed a touch of drama so I chose the Black Essex YD as the accent and the Flax Essex YD for the Dusk pillow. See below how each pillow has spark because of the value change? This is very important to do. Don't neglect to add this accent. This is key to creating a pillow that states "designer" vs. a pillow that looks "home made". I like the things in my nest to be special, functional and have beautiful detail. It is a mindful practice I really enjoy, especially in it's simplest form. These details provide visual poetry. I know, I know...I am a design geek. And if you're nodding your head, then may be you are too :). Welcome to my tribe. 4. Once the strips are sewn together, trim square to 25 x 25 inches. Then press and add a lightest weight cotton batt on back and quilt straight lines about 1/4 of an inch on each side of seam. Next, cut the minky at 25 x 25 for the back of your pillow. I used creme for dawn and cafe for dusk. Follow this very clear and excellent zipper tutorial if you aren't familiar with putting zippers in pillows. Now the SUPER EASY "LOOK WHAT I MADE" Part: add the insert!!! YAY! Good job!! Note that inserts should always be an inch larger than the cut fabric. The reason is to keep the pillow looking plump and full. Baggy pillows look sad, especially after a few uses. •nice, plump, plush, shimmery, designer pillows• Who's making the popcorn? Ever wonder how roll ups are made?Behind the scenes at Robert Kaufman Company. Teresa Coates shot this footage for me and I LOVE IT!!!! Check out the video of a roll up being made. It's so NEAT! •"Hello World, my name is Rollup"• And now for the grand announcement BLOG HOP COMMENCES APRIL 1 LOOK AT THIS LIST OF AWESOME WOMEN- AND FOLLOW ALONG! …I LOVE these women for saying YES and being so crafty cool...
Thanks for stopping by. I enjoy casual blogging immensely. This, by far, was my longest post ever because it was the first time I have talked about making a project. I hope I was clear (enough) and I do rely on others by creating links to those who are thorough at teaching technique. I have great respect for them. My focus is on inspiration and design. I will do my best to steer you to other fine bloggers and tutorials for specific things that I do not offer.
Until next time, Shimmer- it's in our nature!
9 Comments
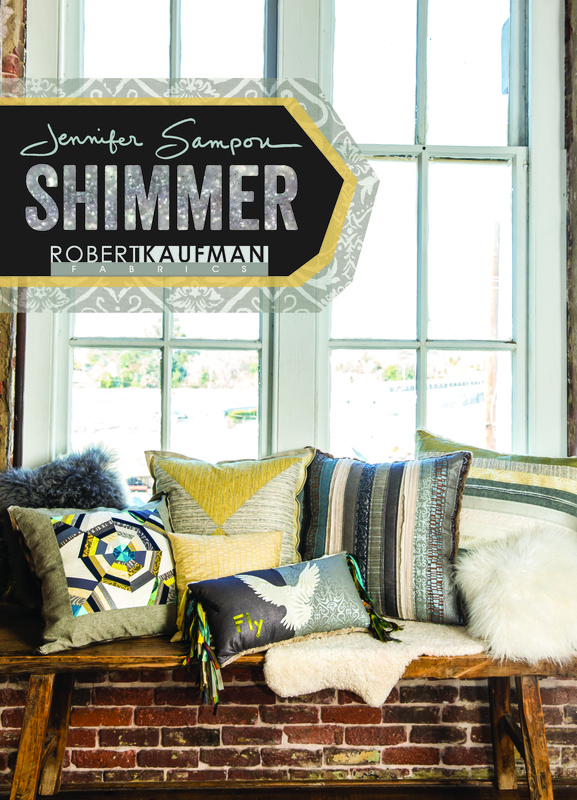
16 How-to Projects Featured in SHIMMER Fabric1 big idea. 4 months of hard work. 16 projects. 24 talented people. 65 yards of SHIMMER. That's what it took to put this LOOK BOOK together (video included). And the passion of like-minded people who love to make beautiful things. We hope you enjoy what is unfolding with this new group of fabrics. For the next two months I will be featuring the cool projects that other makers AND I are doing with SHIMMER. We invite you to join us! SHIMMER is one of my favorite collections because it reflects two things simultaneously: comfort and sophistication. Comfort: because it's made of humble cotton cloth. Sophistication: because of the Japanese pearlescent printing of refined designs in a tonal palette. Like a pair of favorite jeans, you can dress it up or down. Use it with brights or keep the palette subdued. You can shimmer however you like, the possibilities are endless. Enough said…We are a visual tribe, so let's take a look. Of the 16 projects, 6 are free projects which will be featured on my blog over the next two months of Fridays, aptly named: FREE PROJECT FRIDAY. These will be all the projects which say "As Featured on Jennifer's Blog" in the look book. The other ten projects are from über talented designers such as JayBird Quilts, Made by Rae, Green Bee Patterns, Noodlehead, A Few Scraps, Cluck Cluck Sew, Sue Kim and Lena's Shoe Patterns. Each image in the LOOK BOOK has a link to the appropriate page to get the pattern, order the book and buy the fabric. Go check them out by clicking here. We worked hard to give you a streamlined process of having all that you need at your fingertips to start sewing. Being a looker only goes so far…besides, makers have more fun!  Also coming this week- Super excited to share details- Upcoming BLOG HOP- I'll keep you posted! Thanks for stopping by.
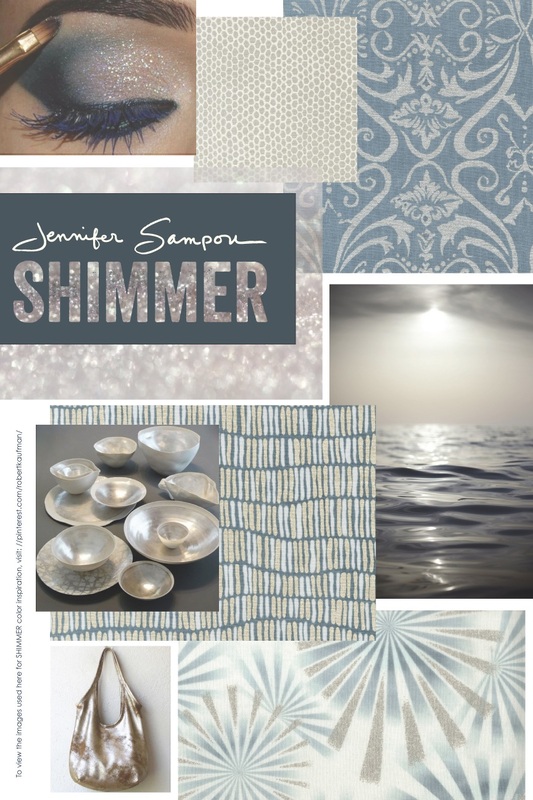
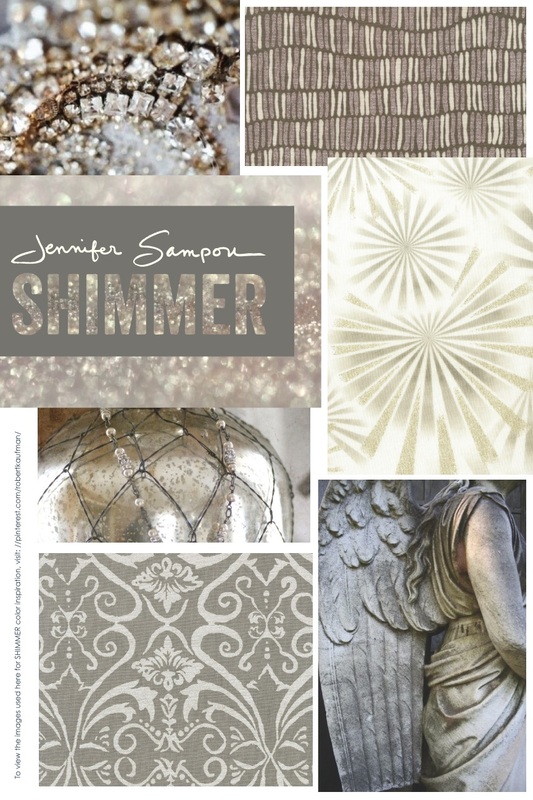
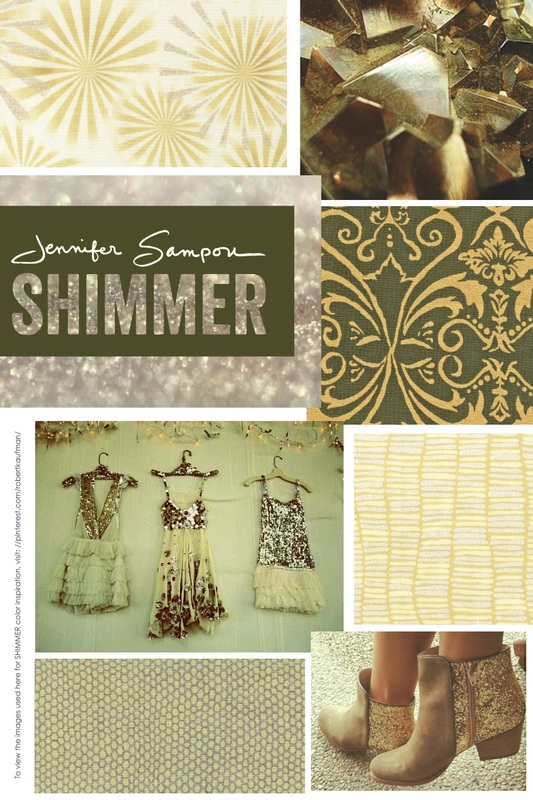
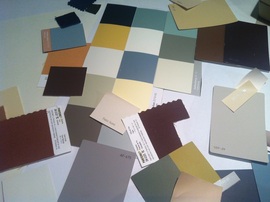
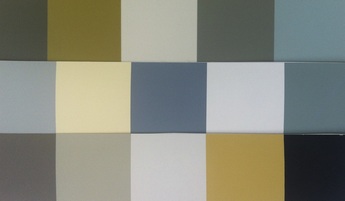
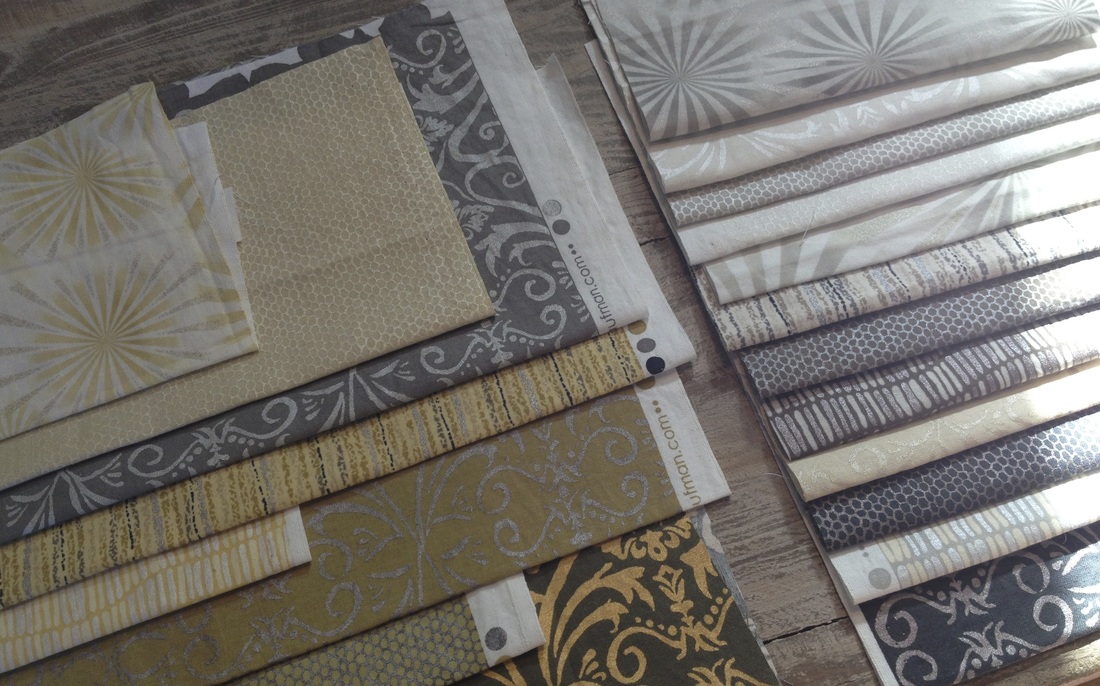
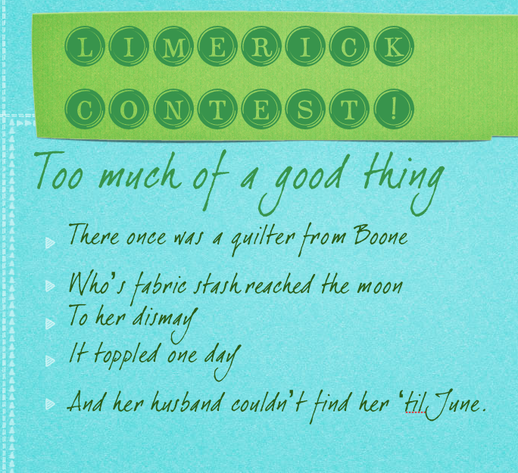
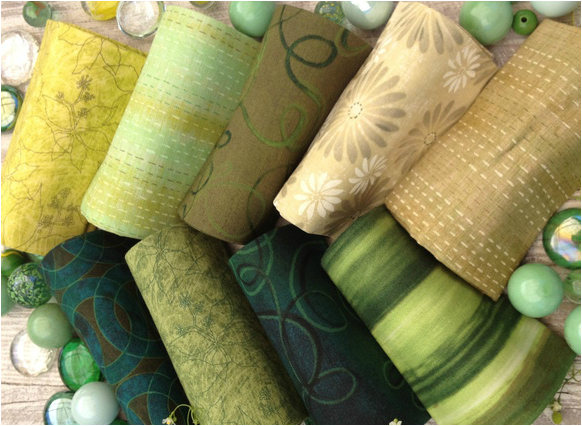
Now go have some fun! Jennifer Shimmer Fabric Release!Shimmer Collection is something I can FINALLY put out into the public quilt world as it's shipping to stores worldwide! Above are a few representations of the 25 piece collection and a few of the images that inspired me. I love traveling and collecting/gathering treasures for real. When I can't do that, surfing for inspiration works beautifully. This was a "color first" inspired group, so picking a palette was my initial step in designing SHIMMER. After playing with swatches on left, I pared it down to a more muted, cool palette. Often, the simpler the design, the more accurate the designer needs to be. As you can see, Sunburst and Brocade are my most eye-catching prints. Hand drawn stripe, snake skin and driftwood are secondary, smaller prints. I spent most of my time fine-tuning hue and studying the value of SHIMMER. When I work with subtle hues, value shift it is extremely important and I must hit the shade perfectly so all prints work together. When a quilter uses these fabrics together, her results will be divine. This is why the group is successful and works together as an entire 25 piece collection. When a group is bright and colorful, the variety of range is more forgiving. It's the nuances of SHIMMER, like the shimmer we see in nature, light and people that I wanted to capture…A delicate balance that takes time to create and appreciate. Until next time…. Create and SHIMMER, it's in our nature! Jennifer P.S. And now switching to some green…..Thanks everyone for the clever entries and big laughs. If you love limericks, check them out on my last blog entry! Some folks couldn't resist numerous entries :)! LIMERICK WINNER!!! Congratulations Kimberly!! The entries were so good that I had to choose runner ups! Sending a touch of green to you too!
Put down your needles and sharpen your pencils!! |
Jennifer SampouStories from the Studio My PatternsSubscribe to my YouTube ChannelCategories
All
Past Entries
April 2024
|
- Home
- Store
- Learning
- Going Green
-
Fabric Library
- SKY
- Chalk & Charcoal Basics
- Chalk & Charcoal
- Spring Shimmer
- Winter Shimmer
- Winter Shimmer 2
- Shimmer On
- black&white 2
- Studio Stash 3 Cool Story prints and yarn dyes
- Studio Stash 3 Warm Story prints and yarn dyes
- Shimmer 2014
- Shimmer II - 2015
- black&white 2015
- Studio Stash II - 2014
- color:FULL 2014
- Studio Stash Yarn Dyes 2014
- Daisy Love Flannel Collection 2014
- Studio Stash Fabric Collection 2013
- Continuum Fabric Collection 2012
- Fiesta Collection 2011
- About
- My Blog
- Newsletter Sign Up
|
Have a Question? Email us at [email protected]
Links I Love©1990-2024 Jennifer Sampou. All Rights Reserved.
|
|





 RSS Feed